Category: Mourning gown project

  • Good Yule 2025! – Pt. 1

    So much going on at Aquaterra’s Good Yule 2025!

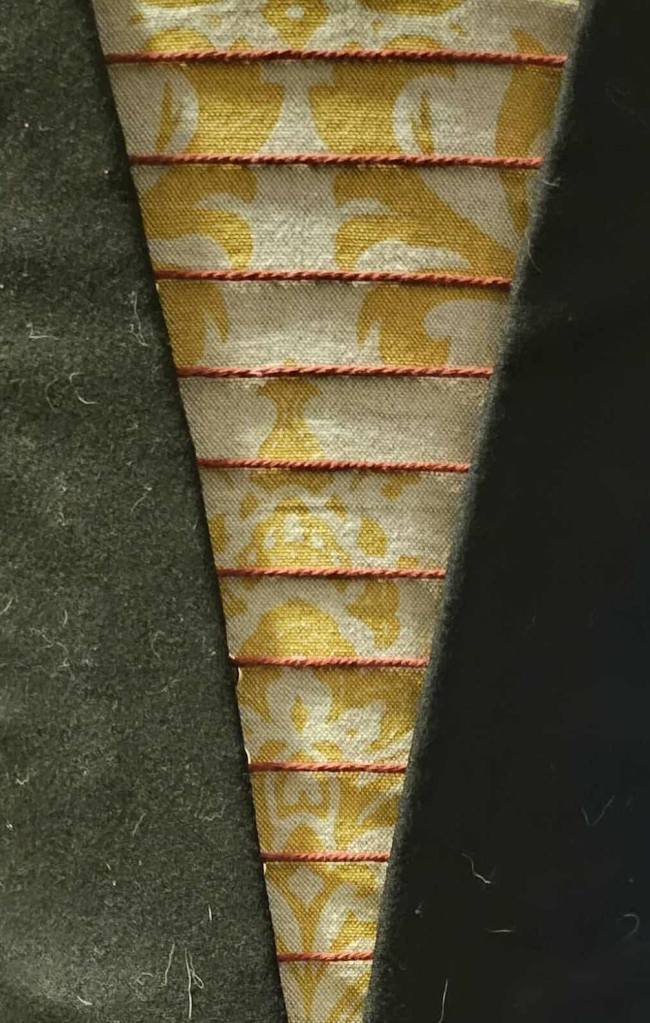
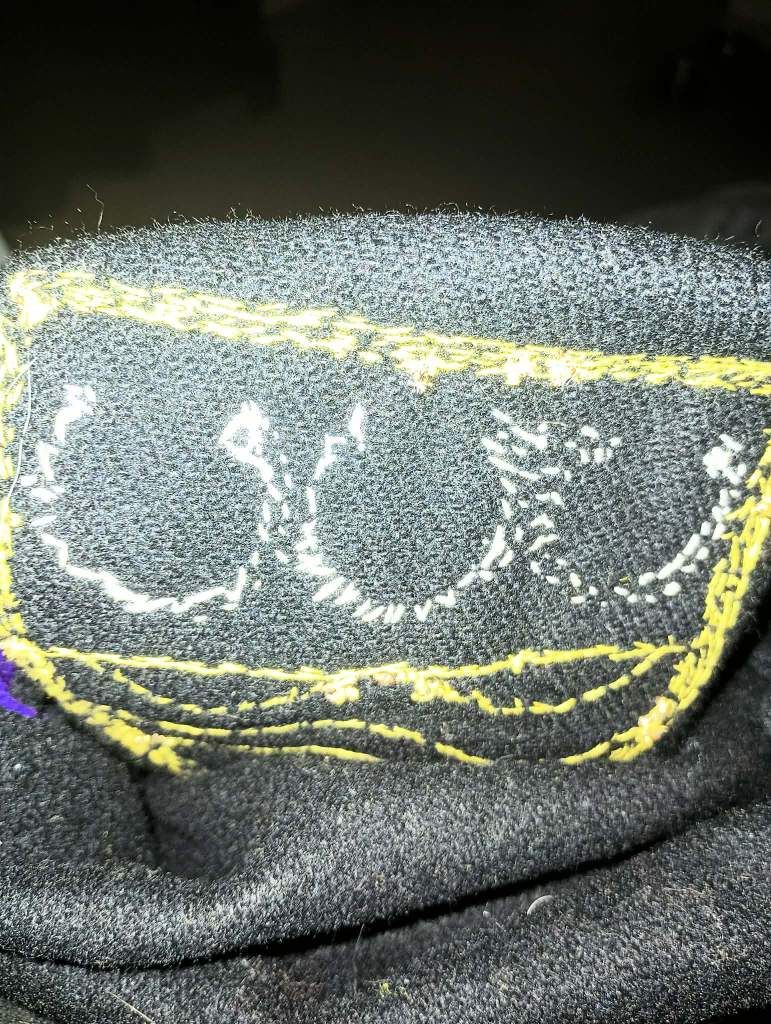
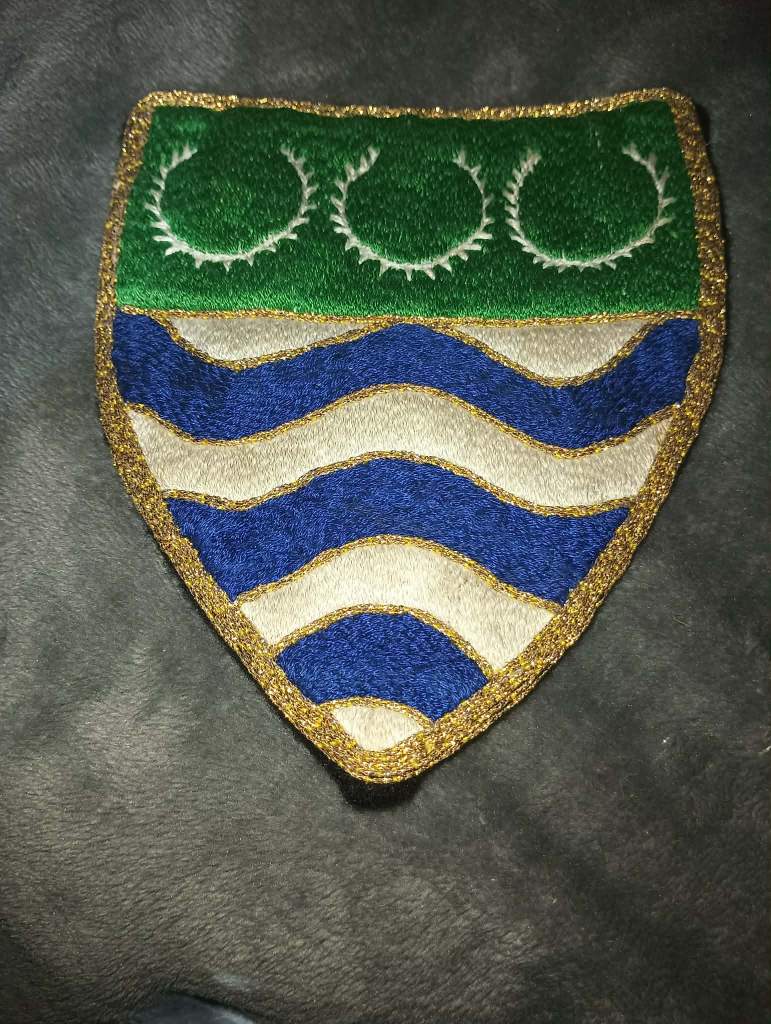
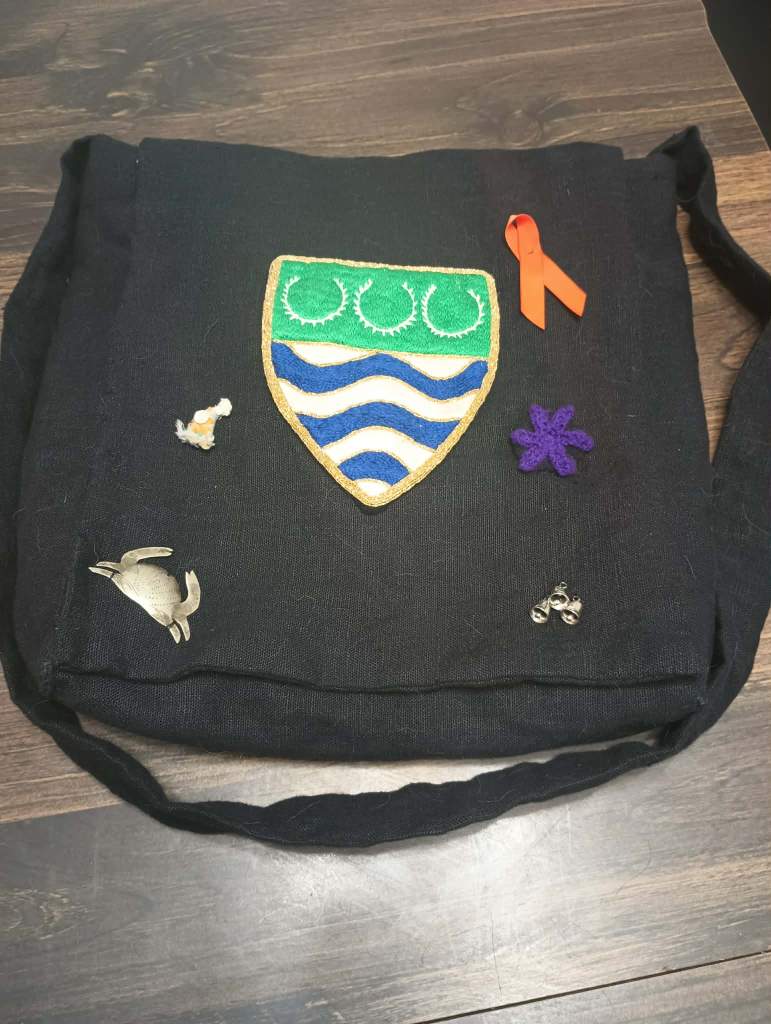
    First, I’ve had a plan to replace the main body of the A&S Champion regalia bag for some time, but this was the deadline. The original bag was made from wool, which collected all the pet hair, and it was starting to show signs of wear and tear, so I removed the existing embellishments, folded in the edges and created patches when needed, and sewed them onto a new bag I made out of linen. I then used a couple of the main pockets from the original bag to be the internal pockets so the soul of the bag is fully intact. The various embellishments have been added over the years, I believe by previous Champions, and I wanted that to all live on.

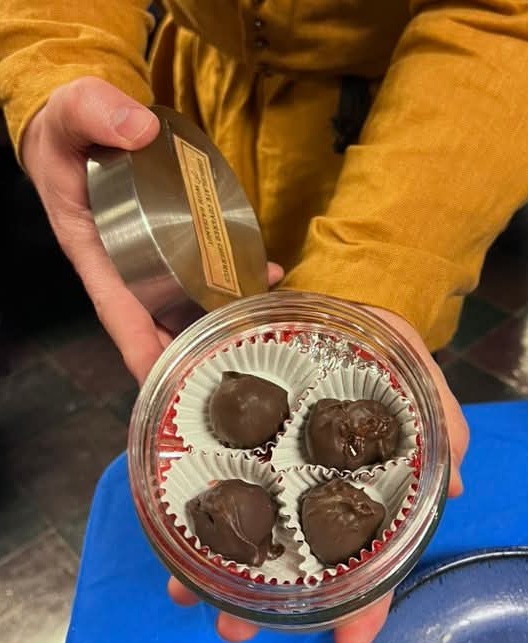
    I made my first ever donation to the dessert auction, 25 Chocolate Covered Cherries with Hazelnut, and they went for far more than I could have hoped, and I was asked to make a second batch so the second bidder could *also* make their donation and get a set of chocolates, so that’s in my future! I also won a bid for some Espresso Brownies, but forgot to photograph those before they made it into bellies!

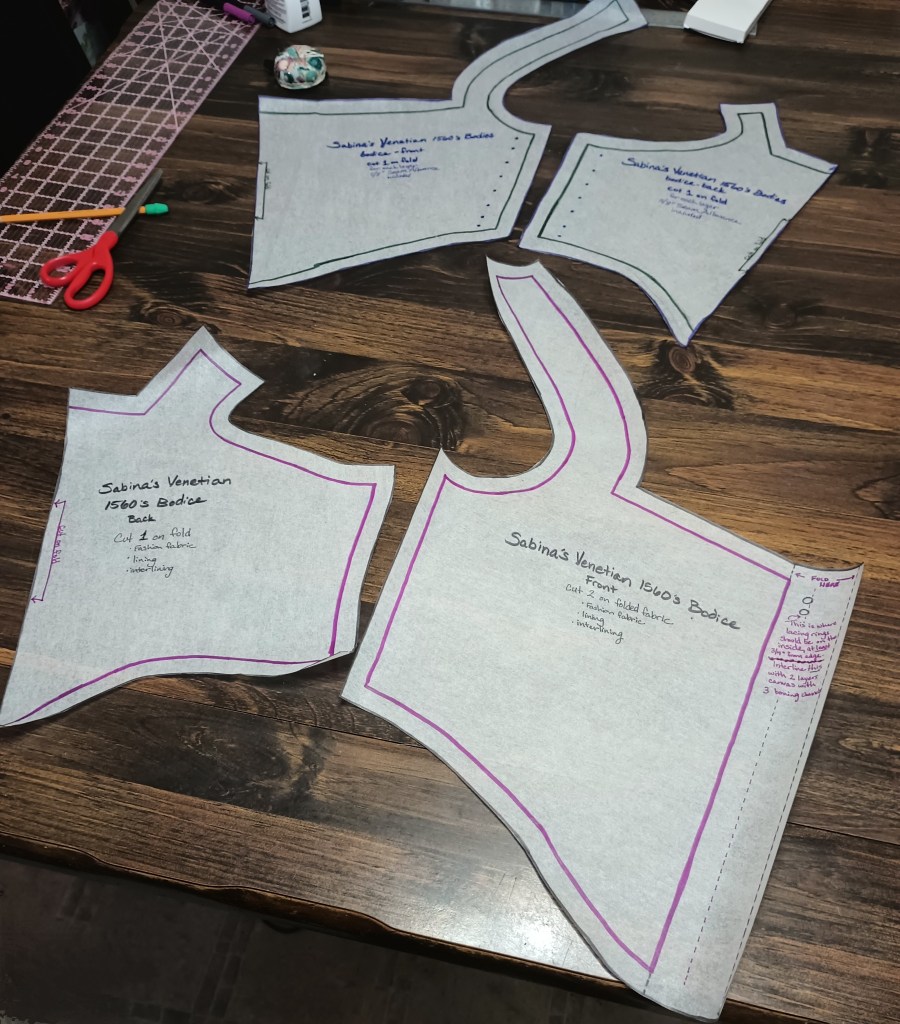
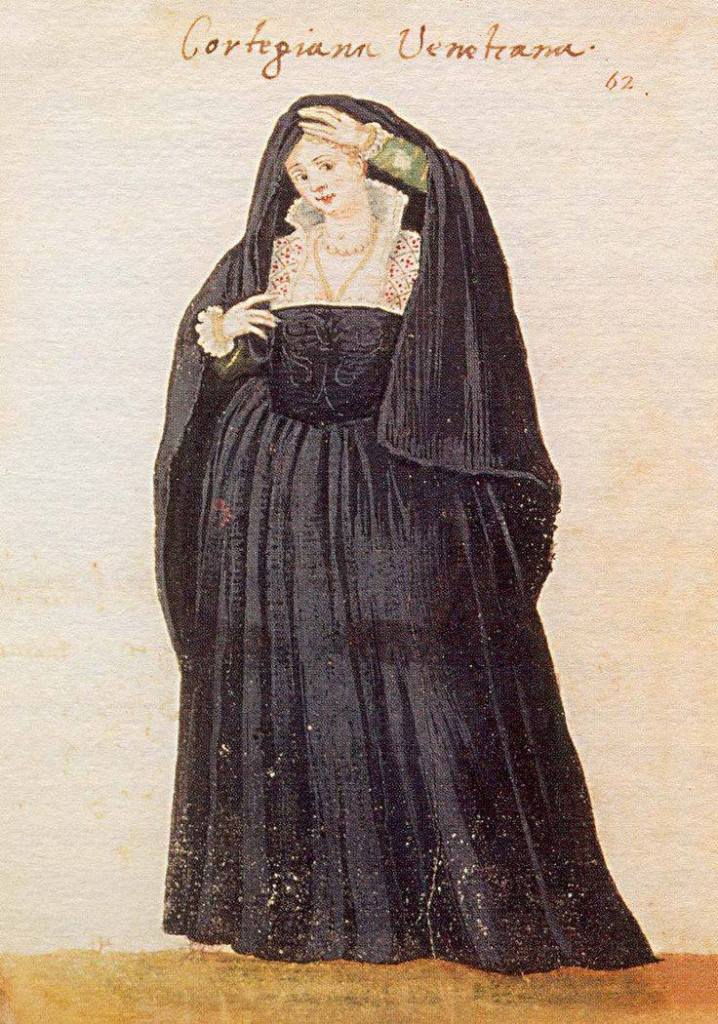
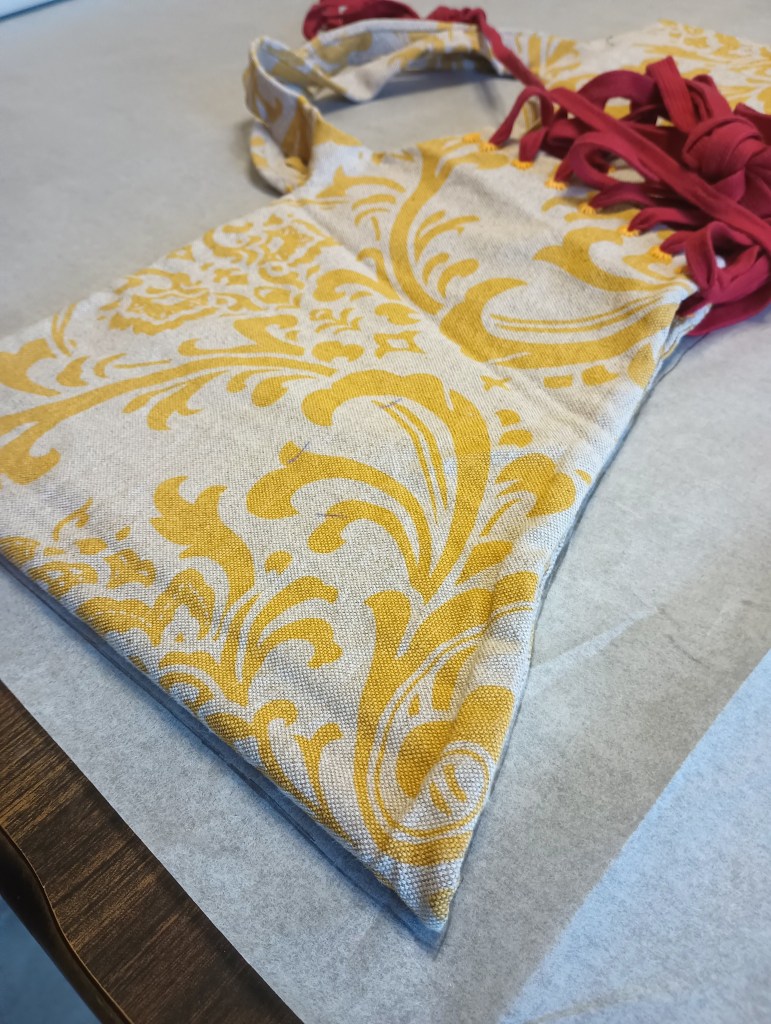
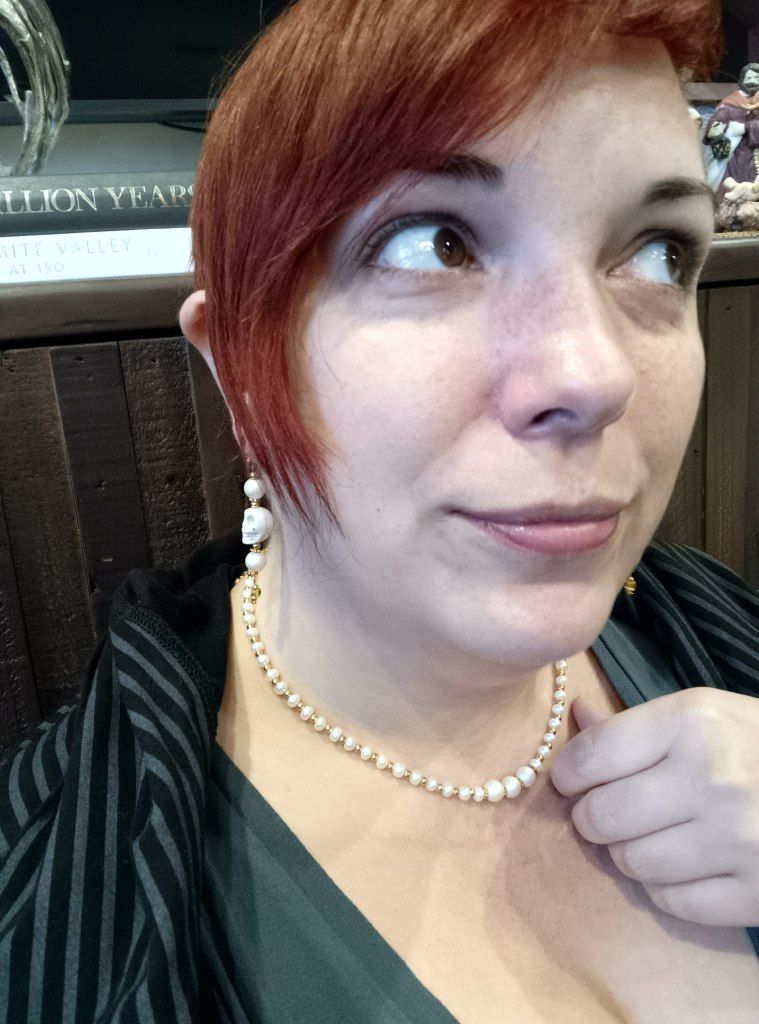
    Shortly after I walked into the event, my friend Camilla Valerian surprised me with this perfect set of jewelry she made me to go with my mourning gown project! I am so excited to debut this, it’s helping give me to gumption to move to the next part of that project! Thank you, Camilla!

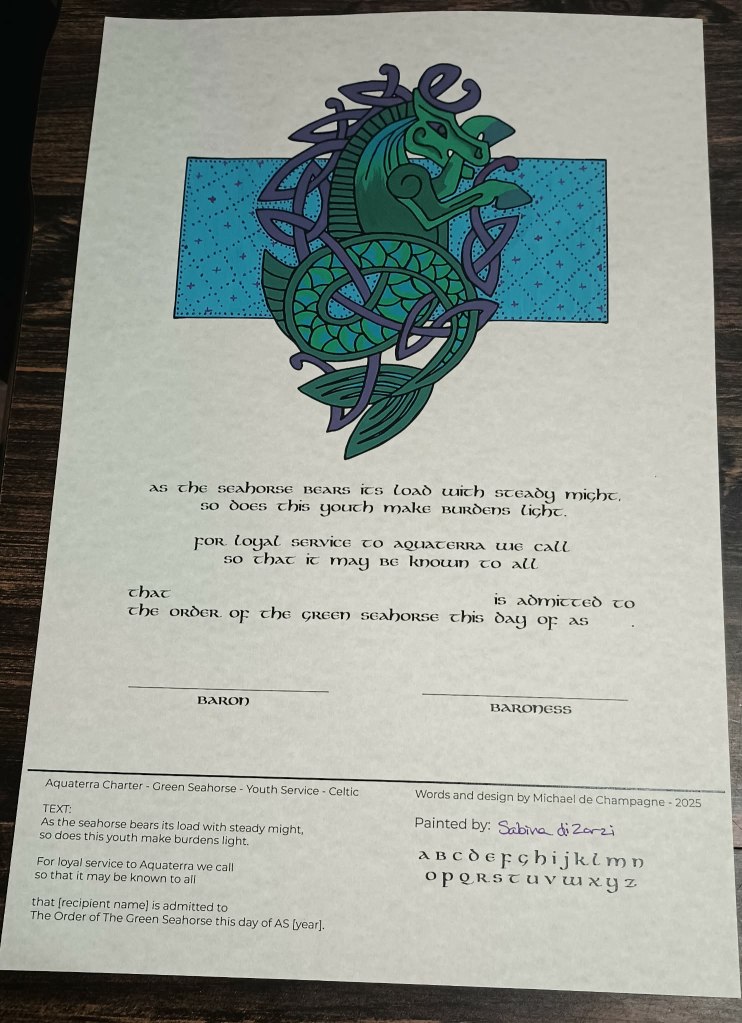
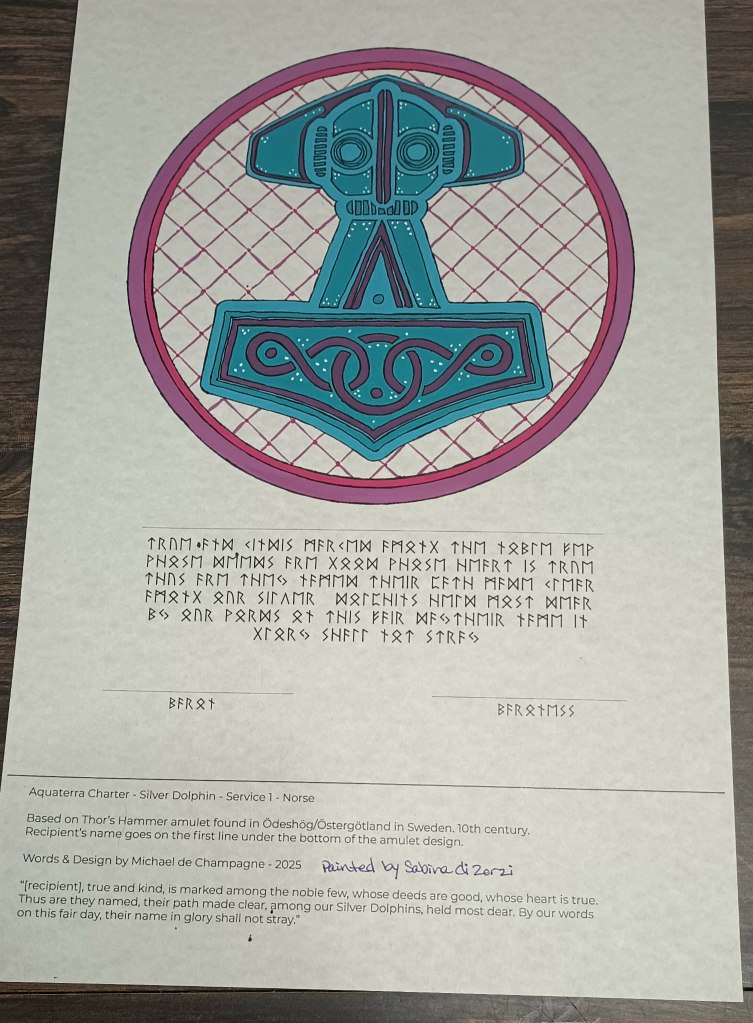
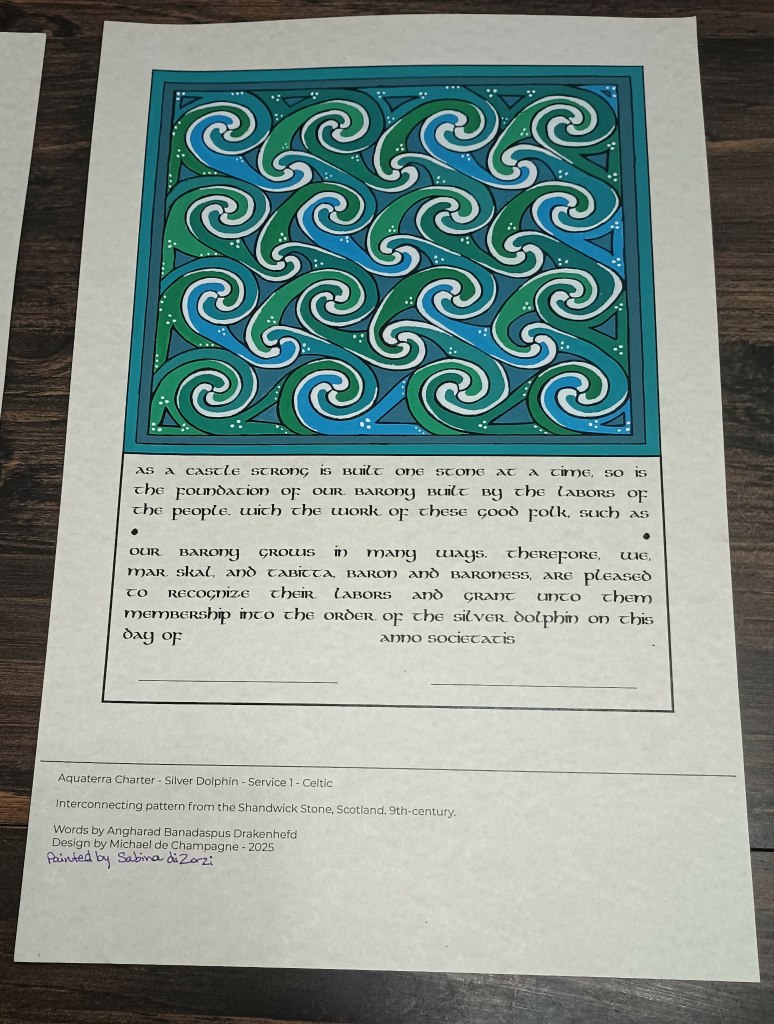
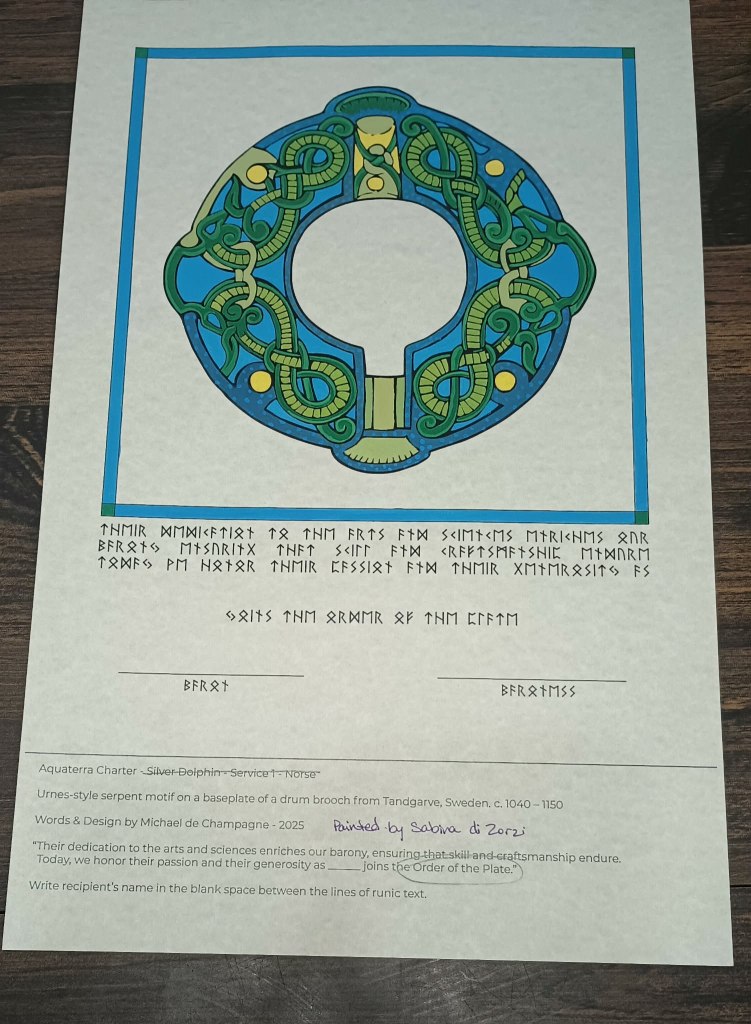
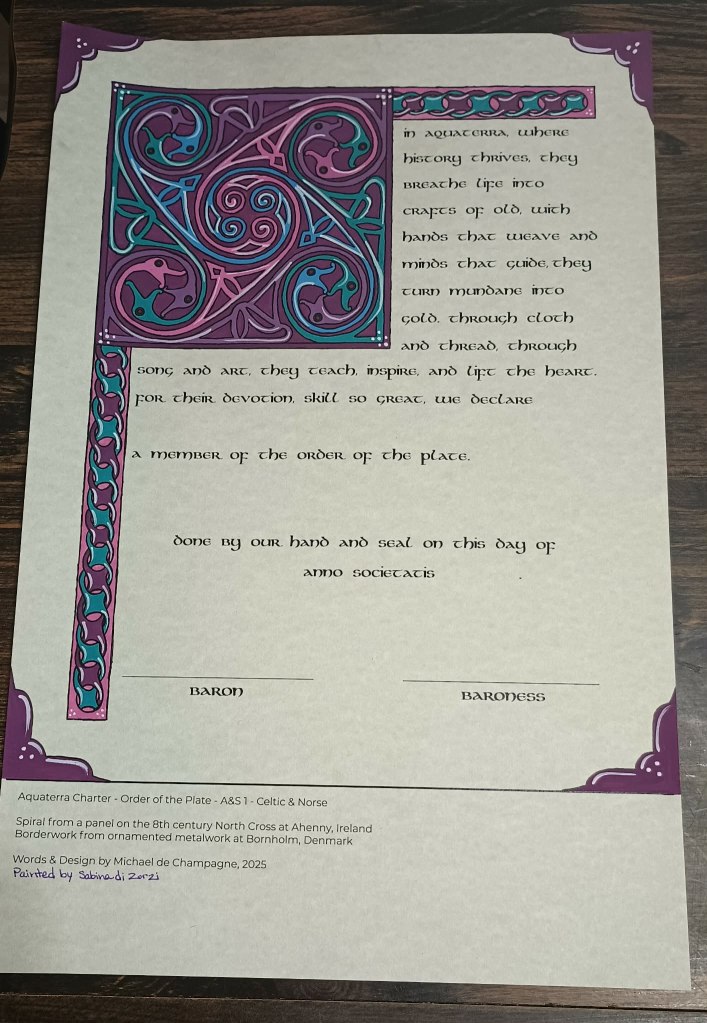
    I was also able to finish up painting my first handful of charters in a very long time and got them submitted to Their Excellencies. Since they’re not unique scrolls, I’m posting them now. I’m so excited to have gotten back into this art, and to have treated myself to better tools this time!

    I’m going to continue this in another post, since this one is getting quite long!

  • The lacing!

    I’d hit a wall on my Venetian mourning gown when I realized that, due to using a smaller and more squishy cording for lacing than on my previous gowns, my results weren’t what I’d experienced previously with this technique. Part of what I’m working on is documenting this different way that I create the ladder lacing using offset lacing rings, but this time, they weren’t successfully creating the parallel ladder lacing, which is the *entire* goal.

    But, unexpected results just mean a learning opportunity, right? So I pivoted and figured out a good alternate way of determining placement, rather than basic math that wasn’t taking the cord’s *squish* factor into account.

    First, I put the bodice with my first attempt at the lacing still in place around a pillow inside out. After I pinned it in place to keep things from shifting, I put a lined notepad between the pillow and the lacing so I could see where the lacing rungs were landing compared to the goal. I then removed the stitching from a ring I felt needed relocating, shifted it until the lacing was level, and then stitched it down before moving on to the next one that needed adjusting.

    This was added steps, but might be the makings of a better starting point for this method in the future! 😊

    The first two pictures are showing the inside of the bodice. The last pic is the current state of it while quickly trying it on tonight and I think I’m finally ready to move on to the skirt!

  • The bodice continues

    Project update – yesterday I sewed the vertical interior seams of the bodice main fabric and liner on the machine, inserted the boning in their homes, and started turning in the edges on the exterior of the bodice and stitched them down by hand to help keep things clean and crisp.

    Today I finished that up and tried it on so I could confirm things were on track and still lining up well even with the edges turned. To do this, I pinned together the extra fabric I left on each edge at the center front. This excess will be turned in when the lining and boning panel are attached, but for now it made this stage easier.

    I’ve also included a bonus picture of the support layers I have on under the bodice that make it possible to make up a lightweight gown without building in heavy support structures. I will be publishing my write up on that soon – life just got in the way for a while.

    Let me know if you have questions!

  • Mourning gown – mock up and other progress

    Today started with a successful mock up, so I cut the wool outer fabric and the linen lining, thinking I can skip interlining in hopes the resulting gown is at least a little less warm. I also got the boning cut to size and sanded and the cotton coutil pieces cut that I plan to sandwich the bones between inside both front edges of the bodice to help keep things smooth when laced.

    You may notice a different pattern in the last picture. That’s the one that had been misplaced and I spent time recreating yesterday! It had been “safely” stored with the ‘bodies’ supplies… I suppose it’ll be good to have a back up!

  • Re-patterning the bodice complete

    New pattern copies done. Next step: muslin (test run) to make sure I did that right before I cut into my “real” fabric.

    🙏

    That’ll probably be my goal for tomorrow, but I’m really looking forward to getting to the point I was at yesterday *before* I realized I’d misplaced the original pattern!

  • Mourning Gown Project

    I started working on my next personal SCA project: a late period Venetian mourning gown. It’s been a gothy dream for a long while, but I feel like current real-world reasons are telling me now is the time.

    First step – fabric has been chosen, purchased, and pre-washed/shrunk as best I was able other than the veil fabric that should arrive today.

    Next step – discover I’m missing my Venetian bodice pattern…

    Current step – recreate the pattern from existing makes, creating separate patterns in the process for the front lacing gown bodice vs. the side lacing bodies that were previously combined into one pattern.

    Inspiration and progress pics included – I’m trying to get better about this!